
About PrintShop
The unglamorous part is where quality actually comes from.
Anyone can put ink on paper. What separates a print that survives a wall, a shelf and a courier from one that does not is everything that happens after the artwork is finished: colour proofing, stock selection, registration, finishing and inspection. This page is about that part.
300dpi
at full size, no upscaling
3mm
bleed on every edge
24–48h
typical production window
100%
of sheets inspected
One workflow, not five vendors
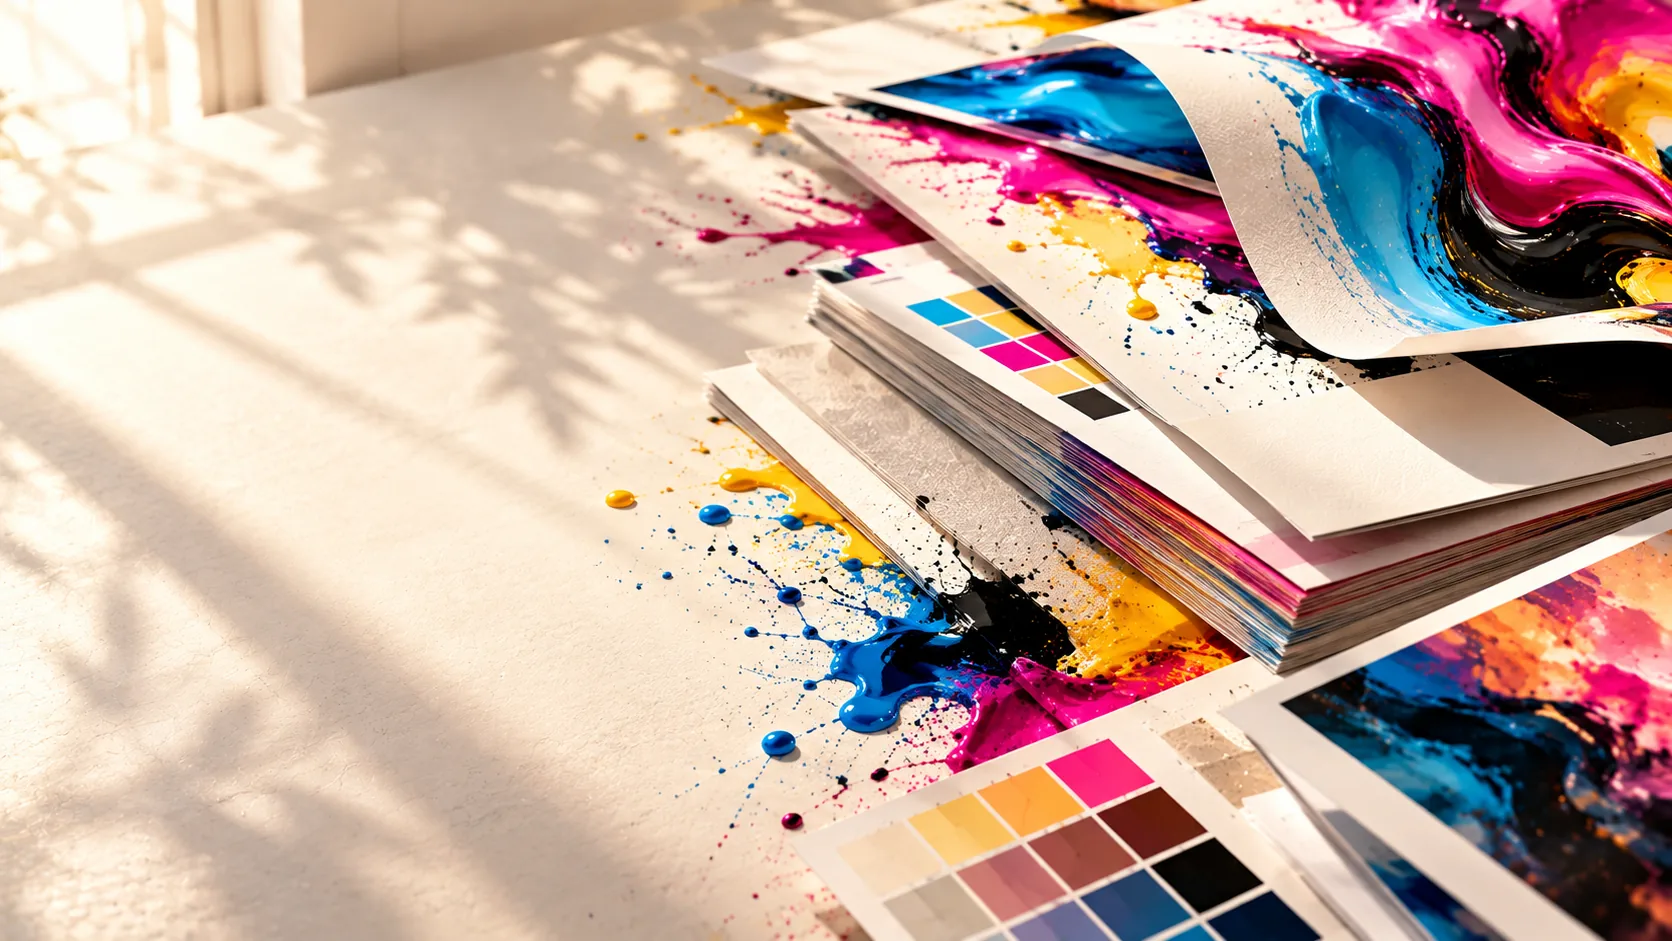
Most print projects break because the work is split across suppliers who never see the same colour target or the same paper. Here the artwork, the stock, the press and the finishing run as one job, so what you approve is what gets produced.
Digital presses for short runs, large-format for signage and canvas, and finishing in-house — cutting, folding, laminating, spot UV, foil and binding.
The workflow
Four stages, one job
Every order moves through the same sequence. Knowing which stage a job is in is how you get a real delivery date instead of a hopeful one.
 01
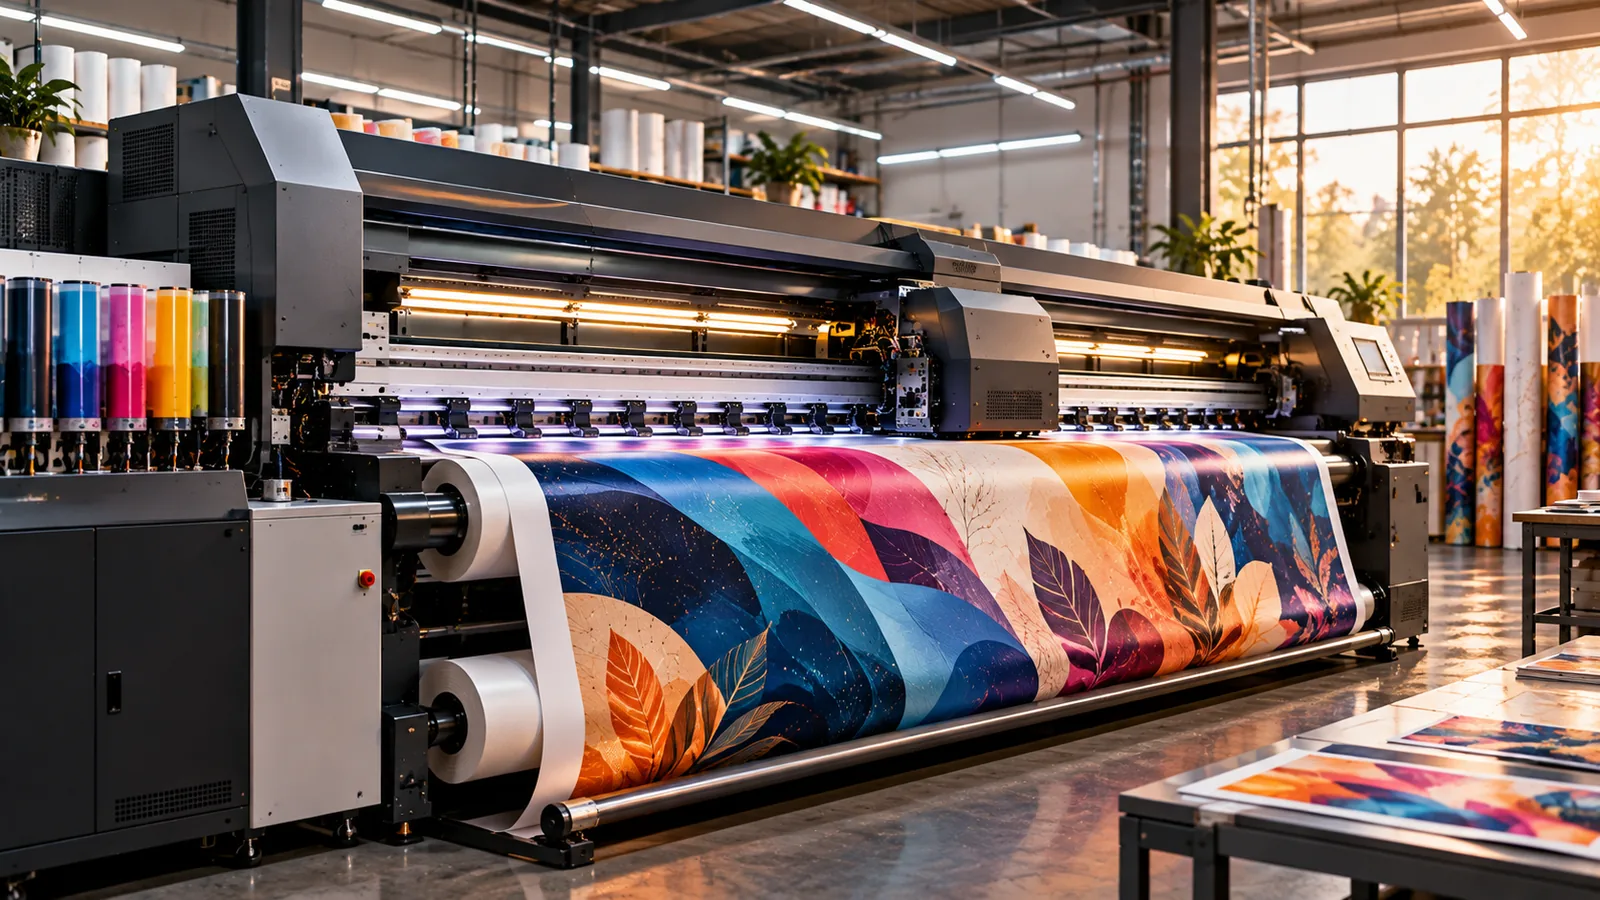
01Wide-format output
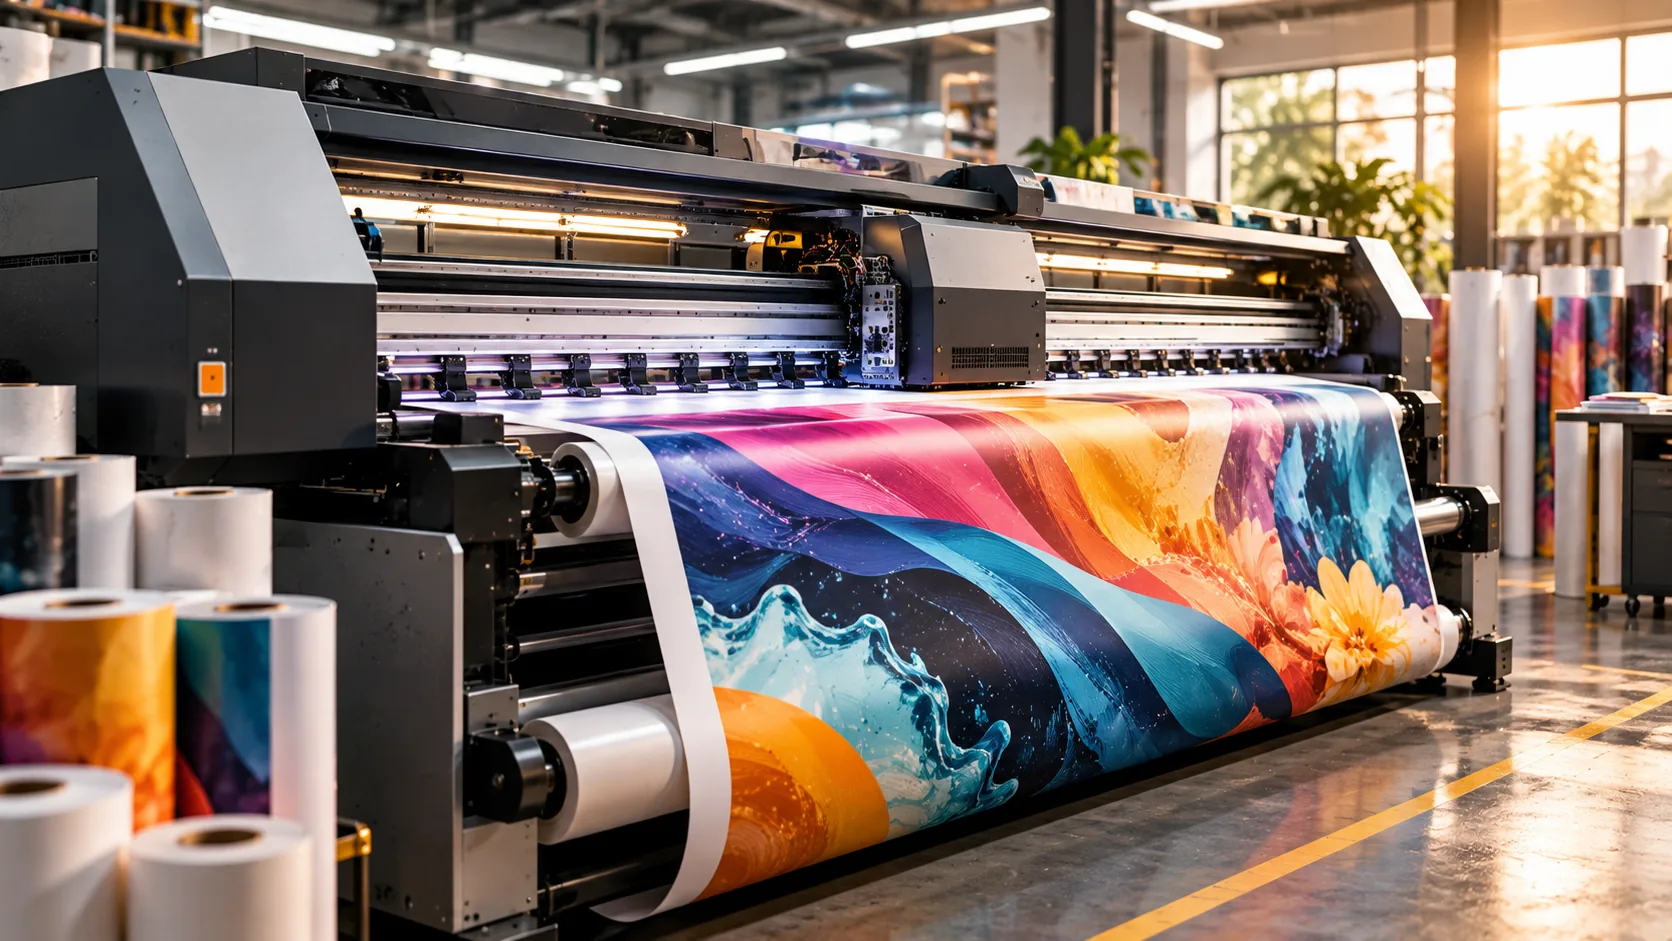
Roll and sheet output for posters, canvas, signage and wall graphics. Resolution is locked to native size so nothing is scaled up into mush.
 02
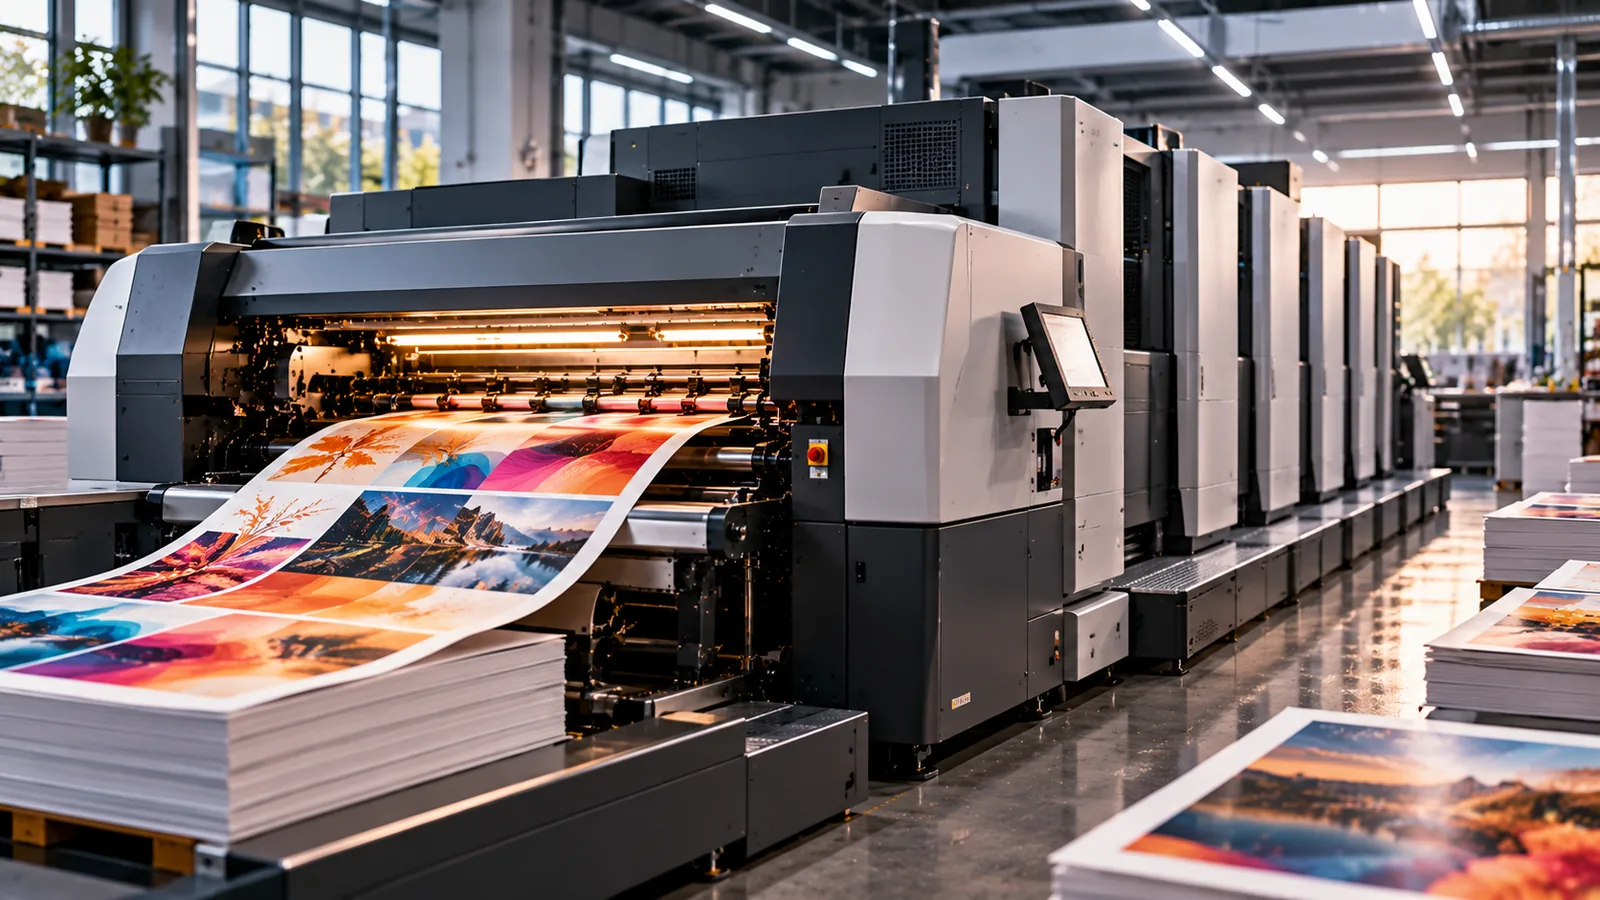
02Digital press
Short-run sheets with consistent colour between units. This is where business cards, invitations, brochures, catalogues and stationery are produced.
 03
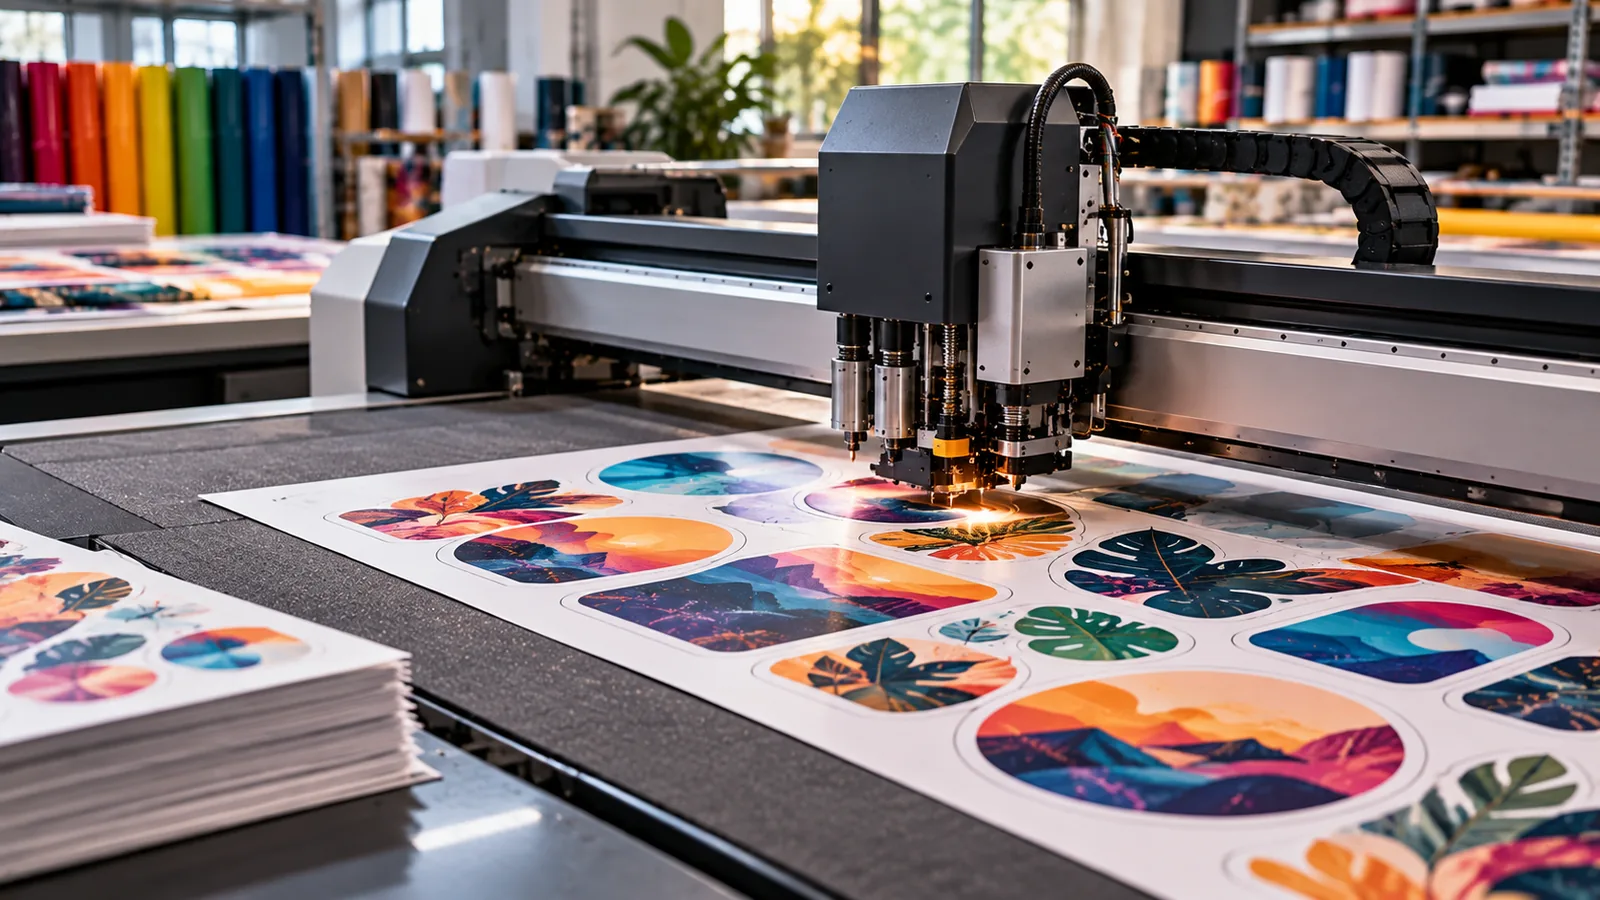
03Die cutting
Contour cutting for stickers, labels, shaped cards and window envelopes — including kiss-cut sheets and custom silhouette paths.
 04
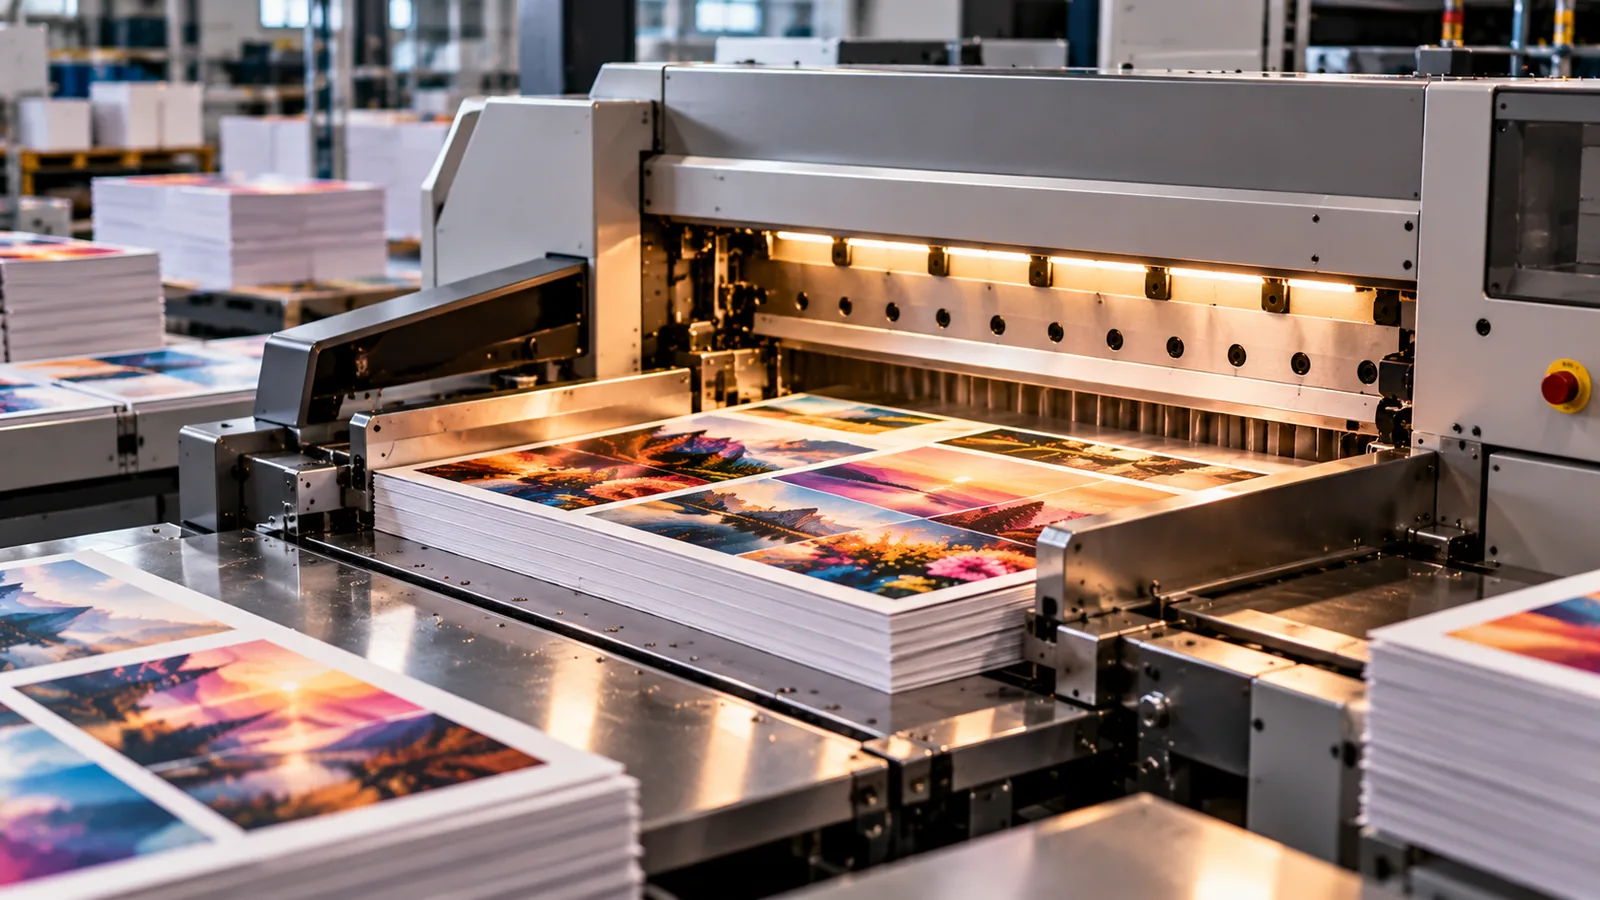
04Finishing
Cutting, creasing, folding, laminating, spot UV, foil, edge painting and binding. Finishing is what makes a print feel expensive in the hand.
Materials & finishes
Stock first, artwork second
Most print disappoints because the substrate was chosen after the file was made. These are the stocks kept in the library and the finishes applied in-house.
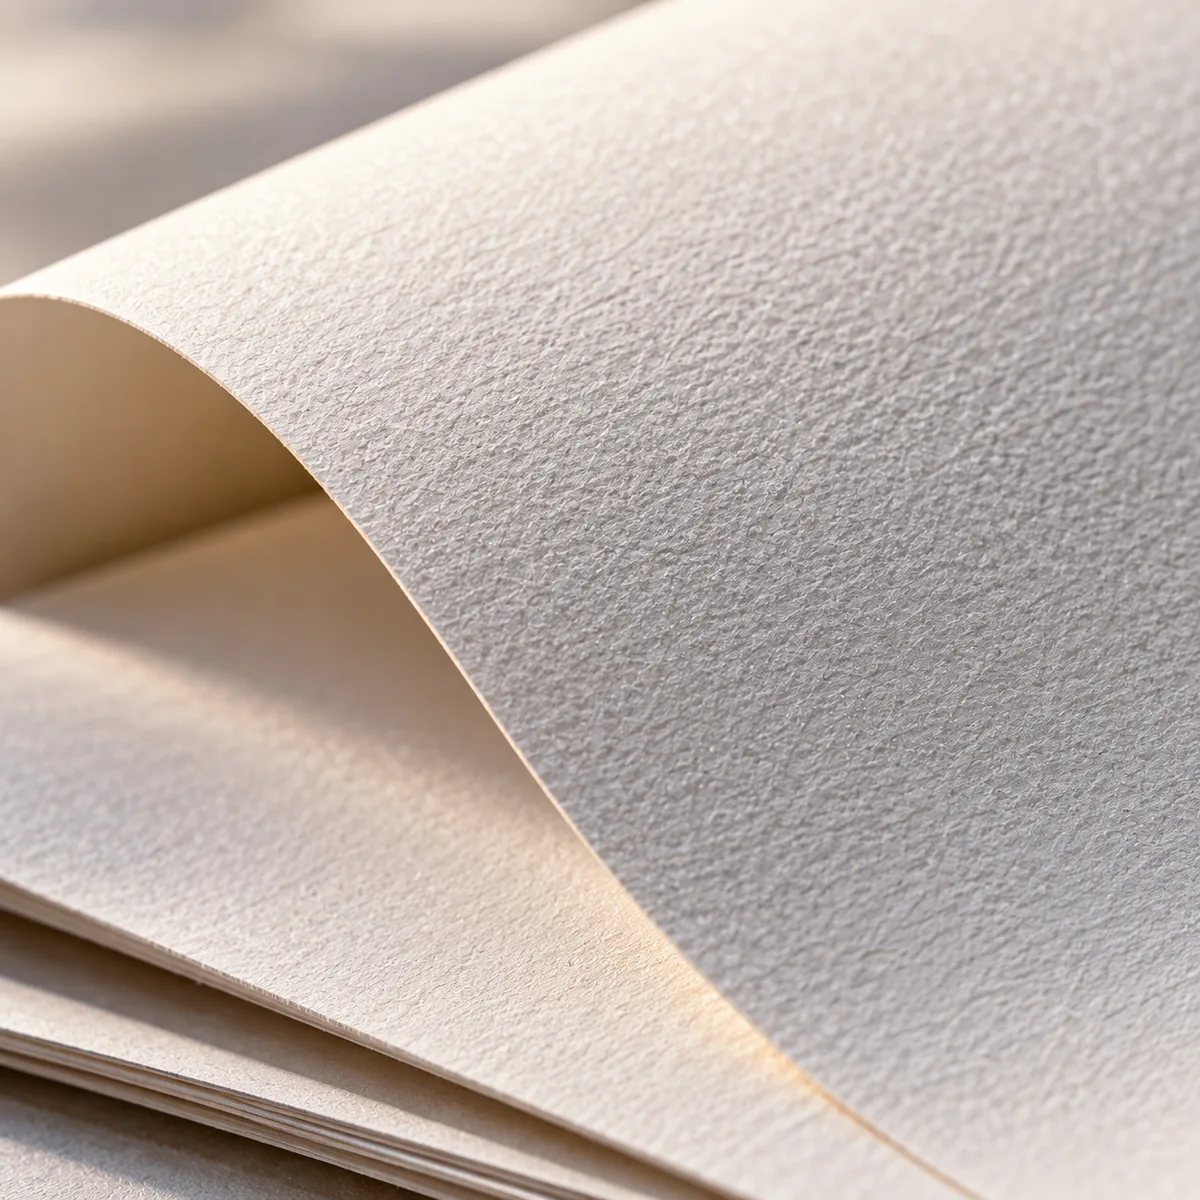
Matte coated
No glare under shop lighting. The safe default for posters, leaflets and anything read at arm's length.
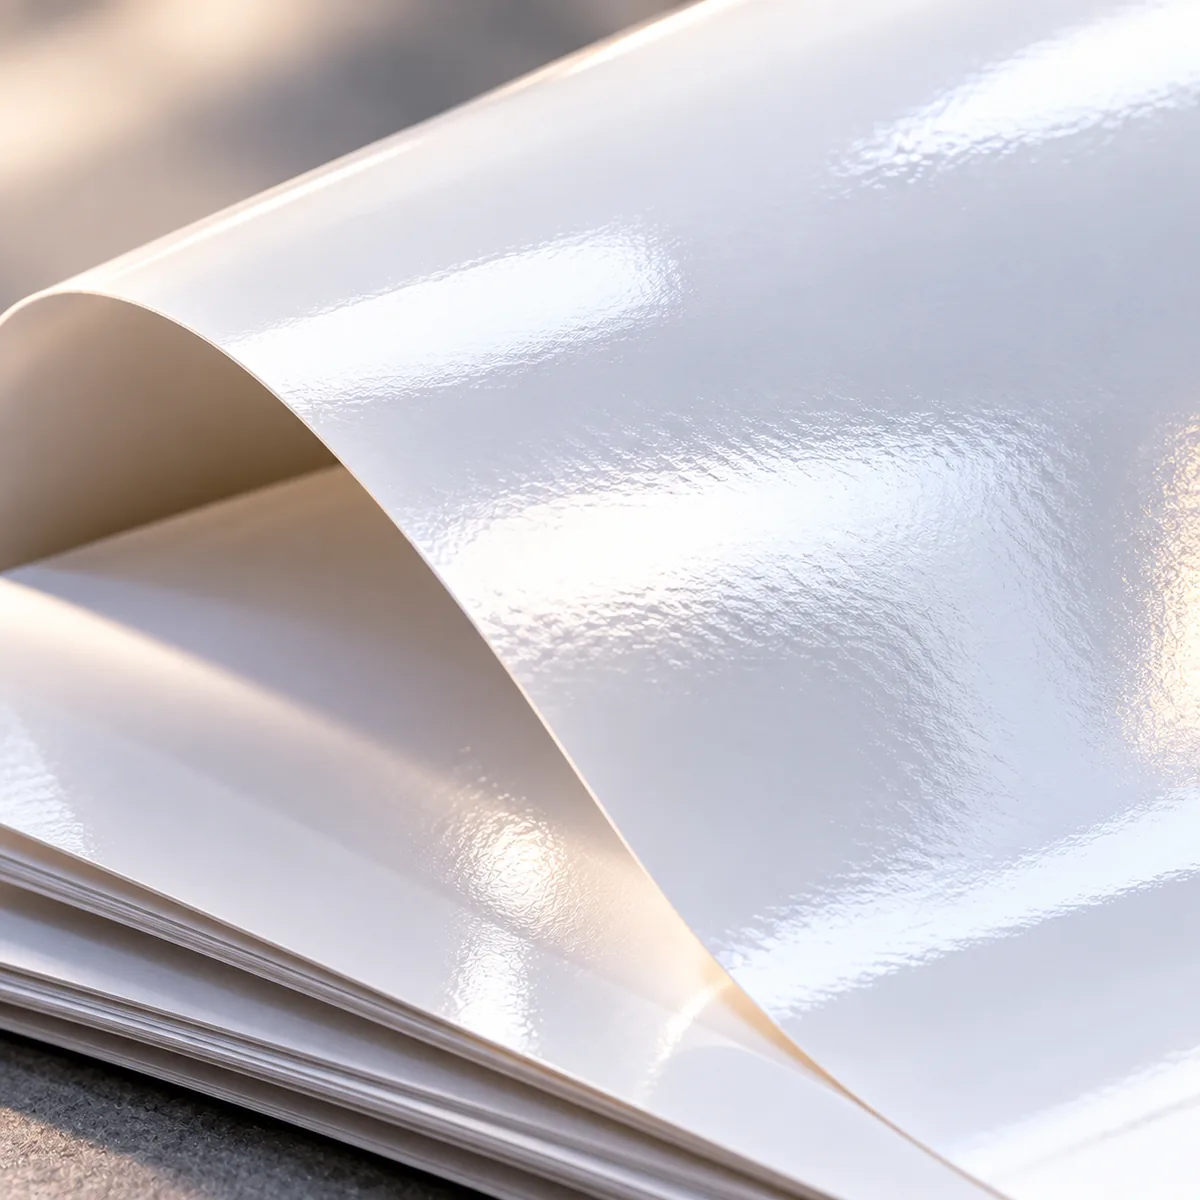
Gloss coated
Higher contrast and punchier colour. Shows fingerprints, so it suits photographic and packaging work more than documents.
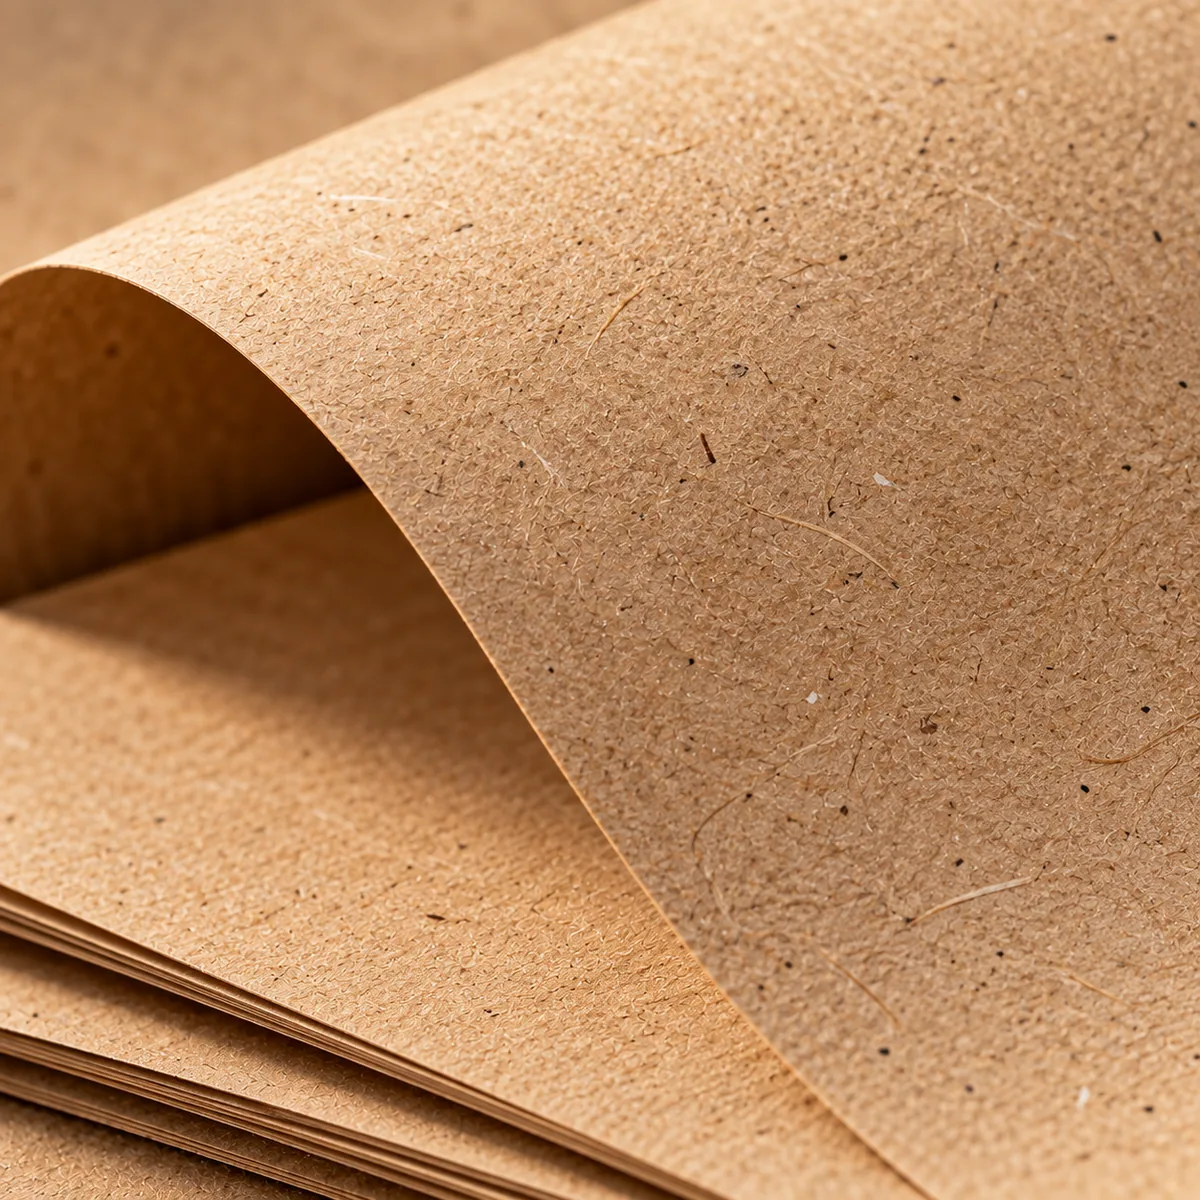
Kraft
Unbleached board with visible fibre. The workhorse for mailers, sleeves and retail packaging.
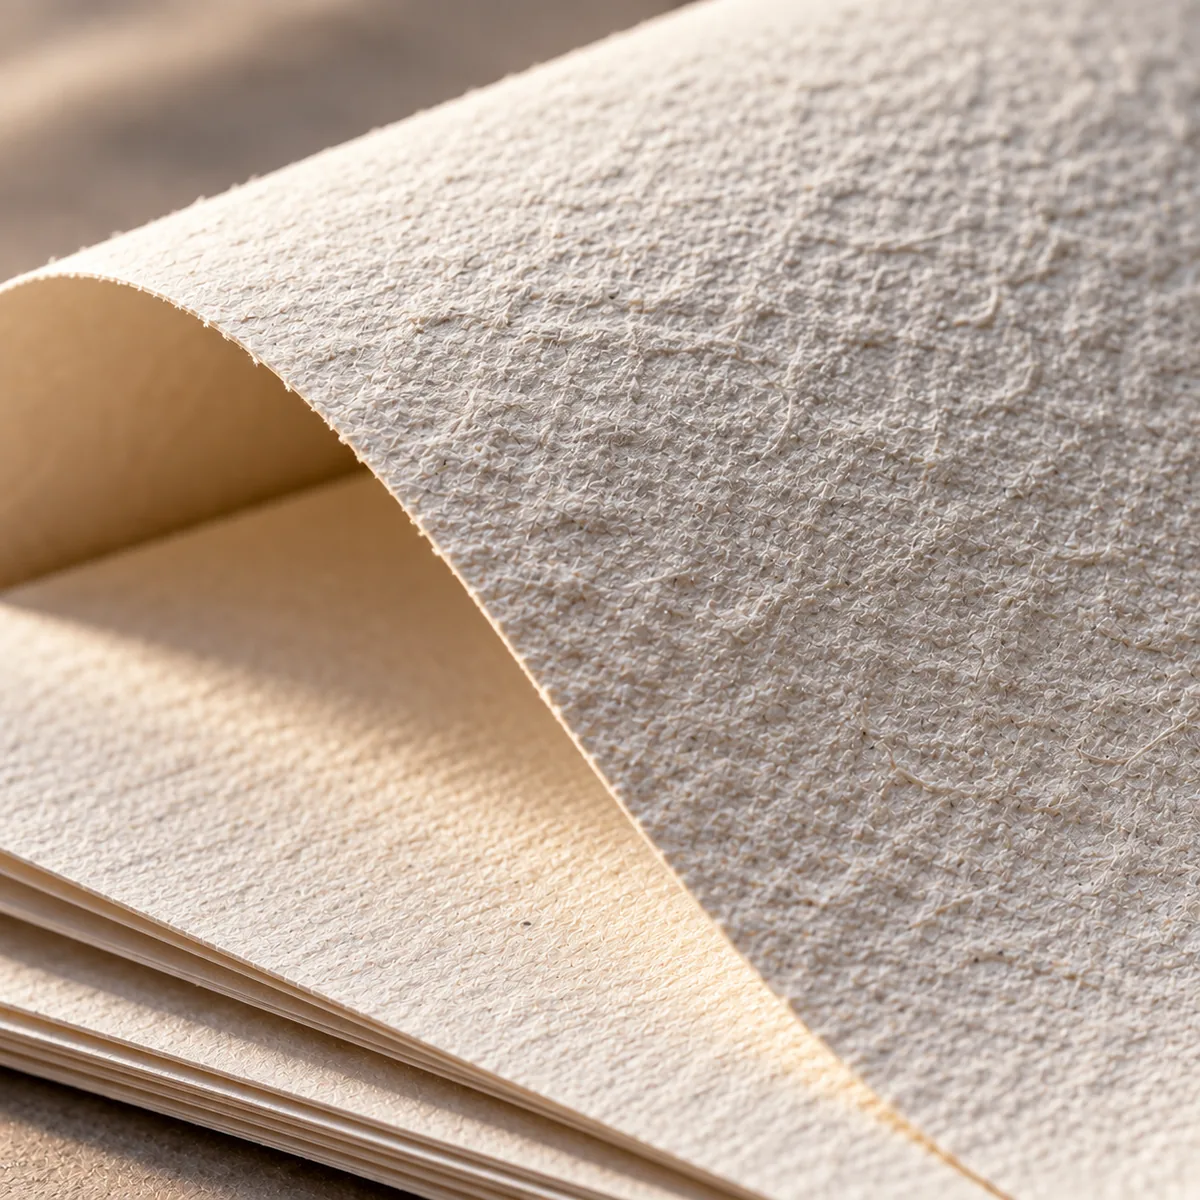
Textured art
Deep tooth that holds pigment. Choose it for fine art prints where flatness would look plastic.
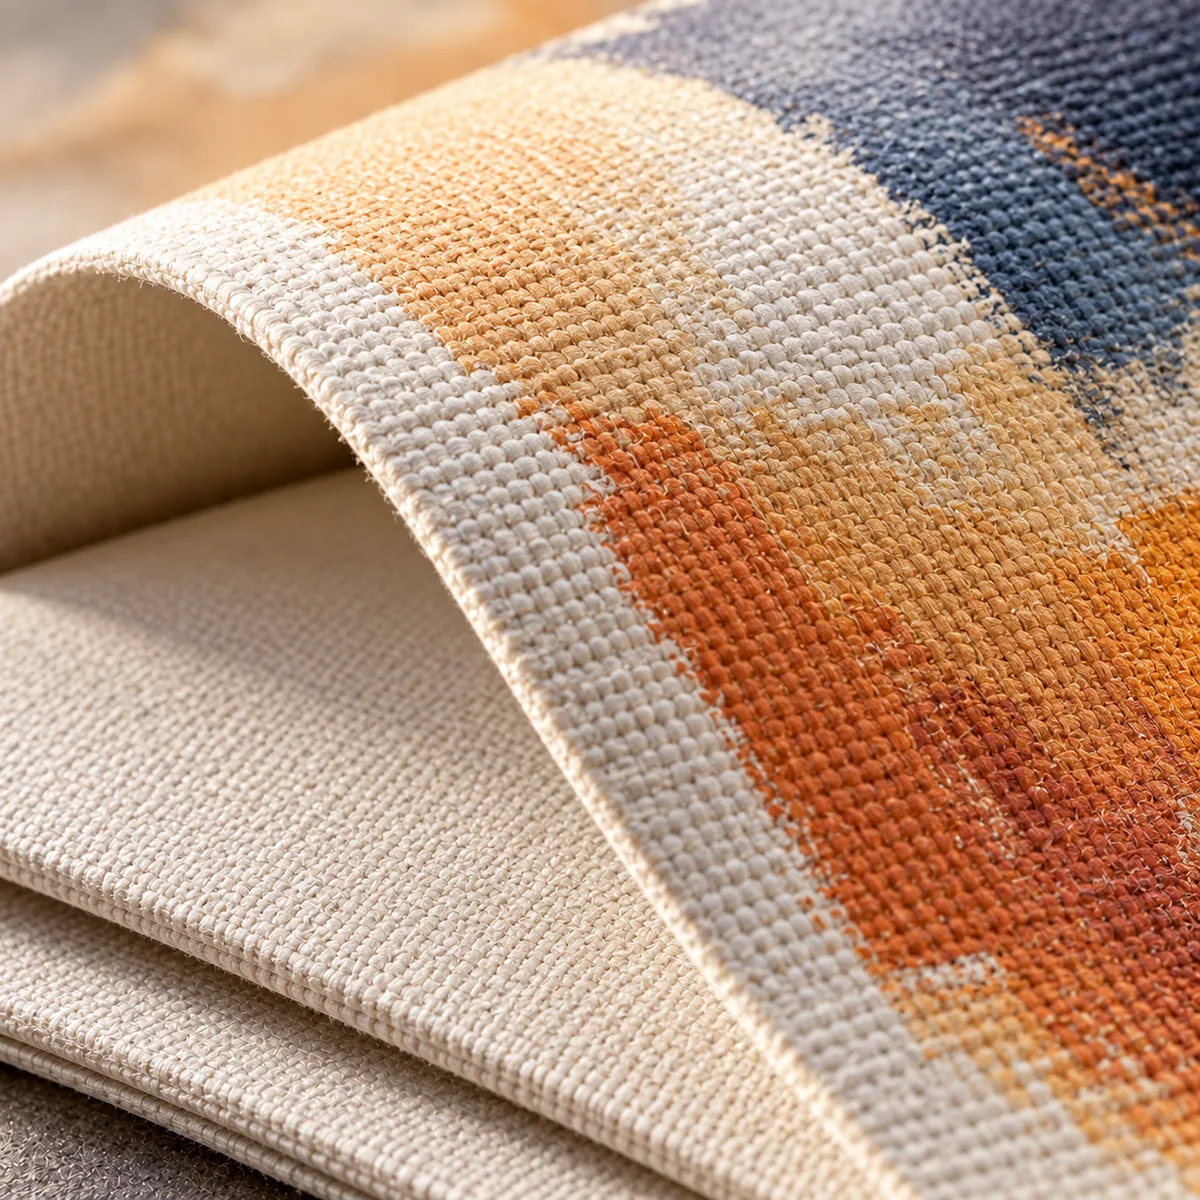
Stretched canvas
Woven fabric over a rigid frame. Gallery depth without the cost of framing.
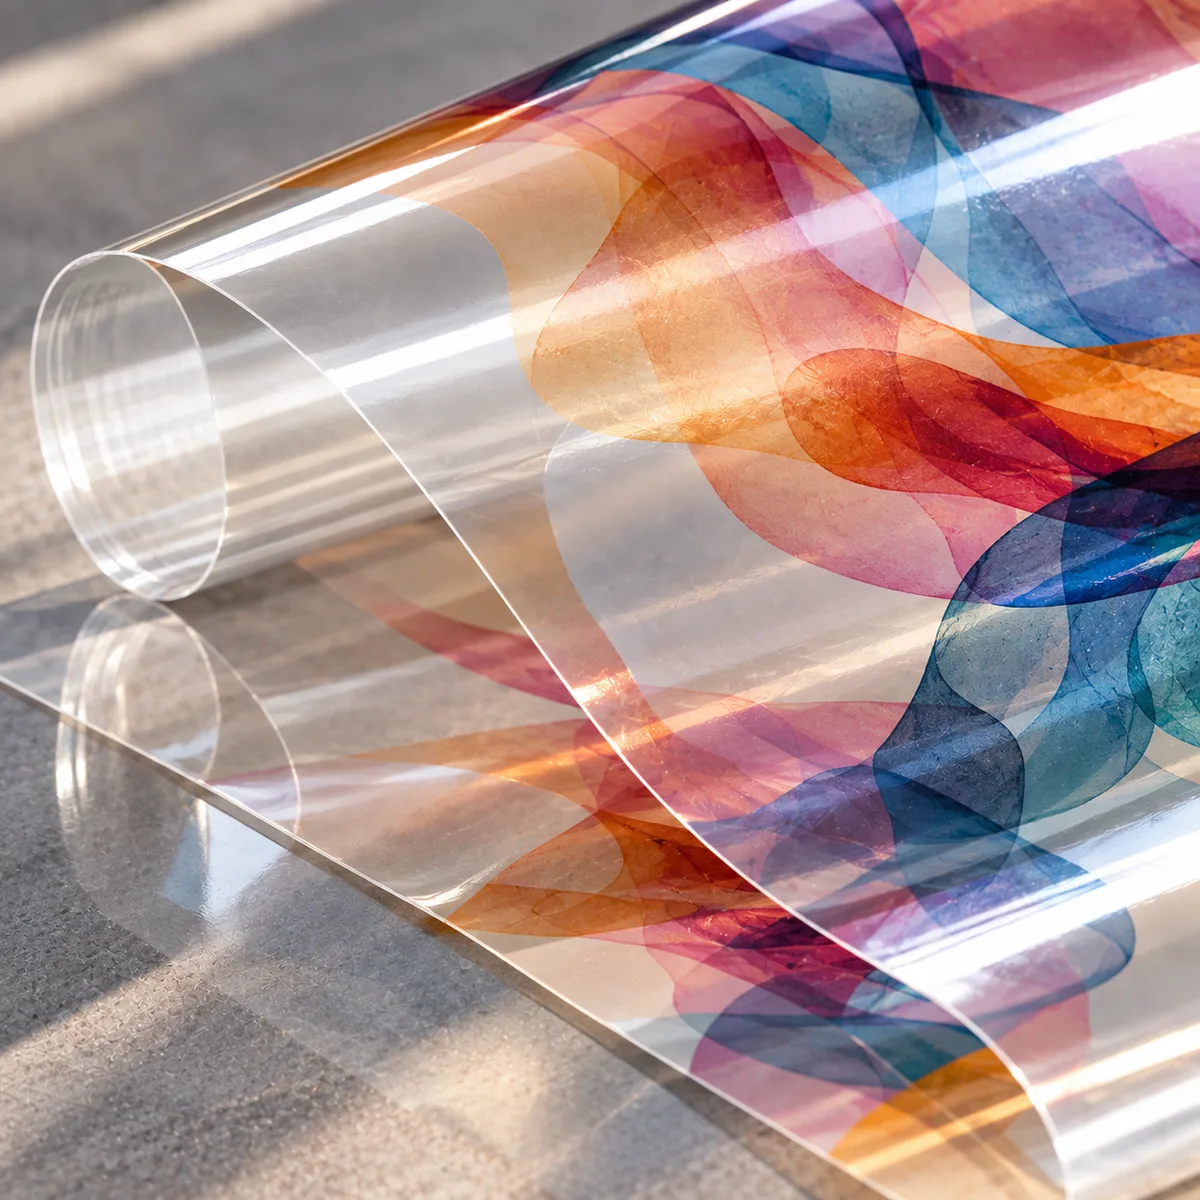
Transparent film
For window graphics, overlays and packaging windows where the substrate must disappear.
Finishing
Applied after printing, on the same job, before packing.
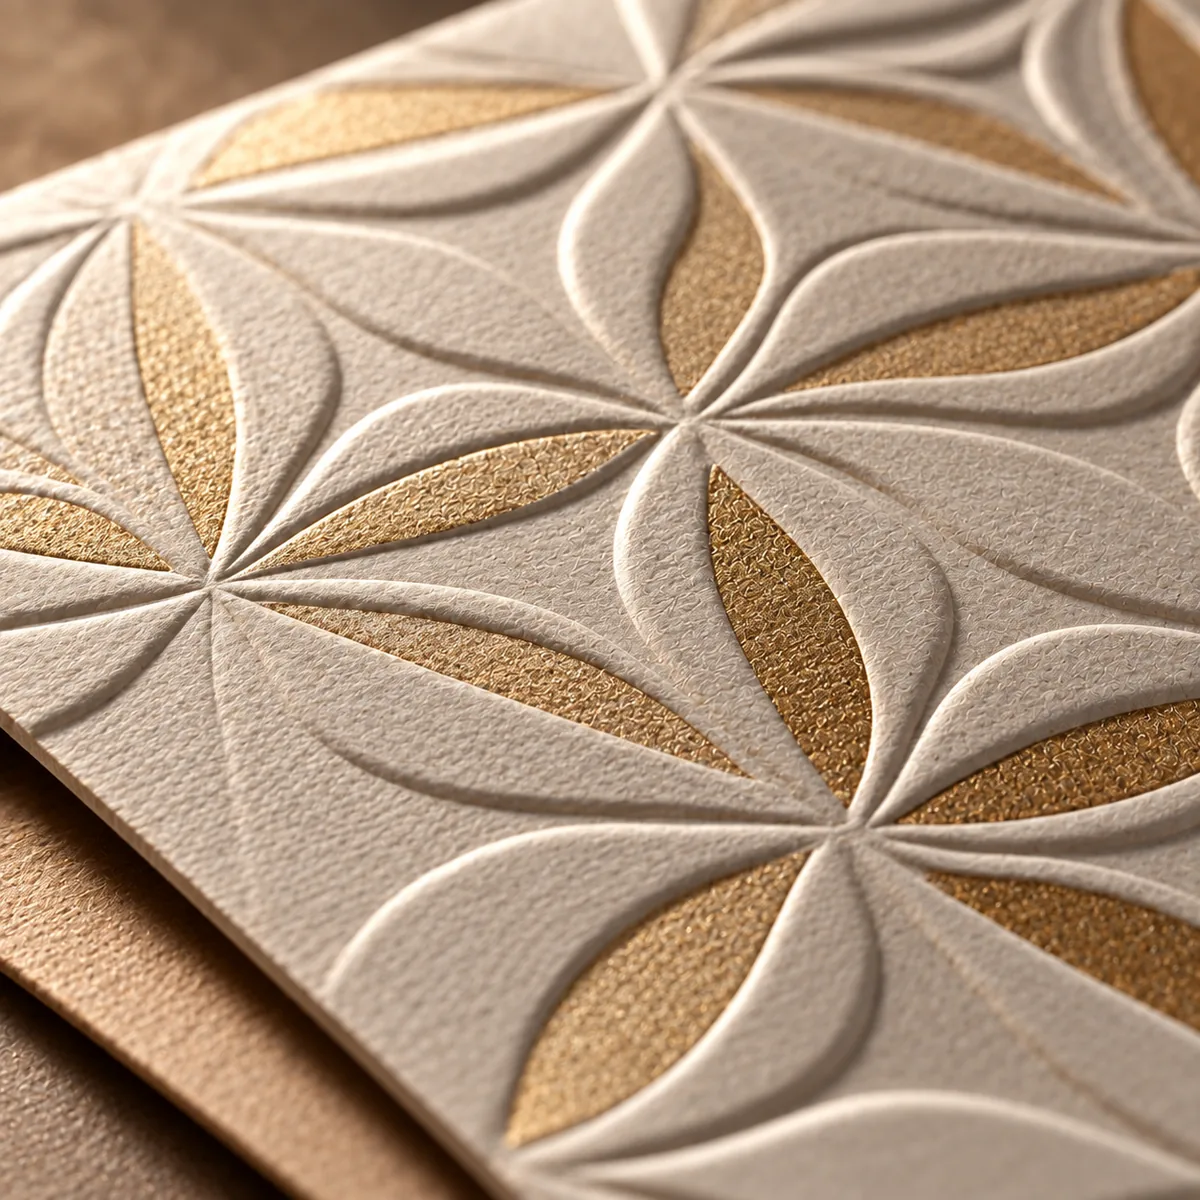
Embossing
Raises the surface so it catches light. You feel it before you see it.
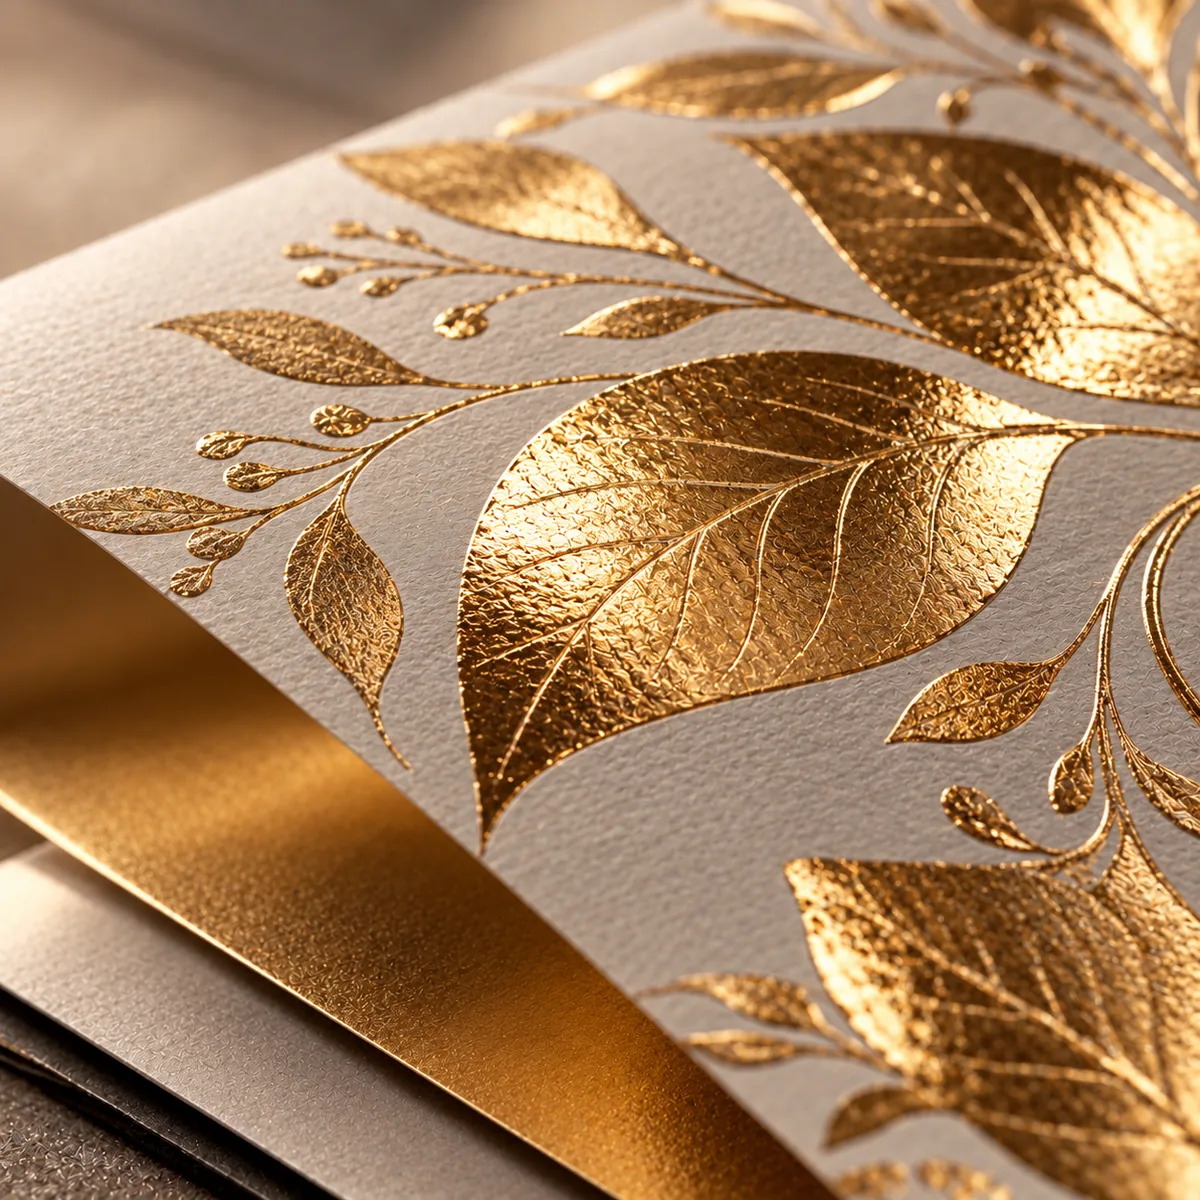
Foil
A metallic layer stamped into the sheet. Reads as premium at any size.
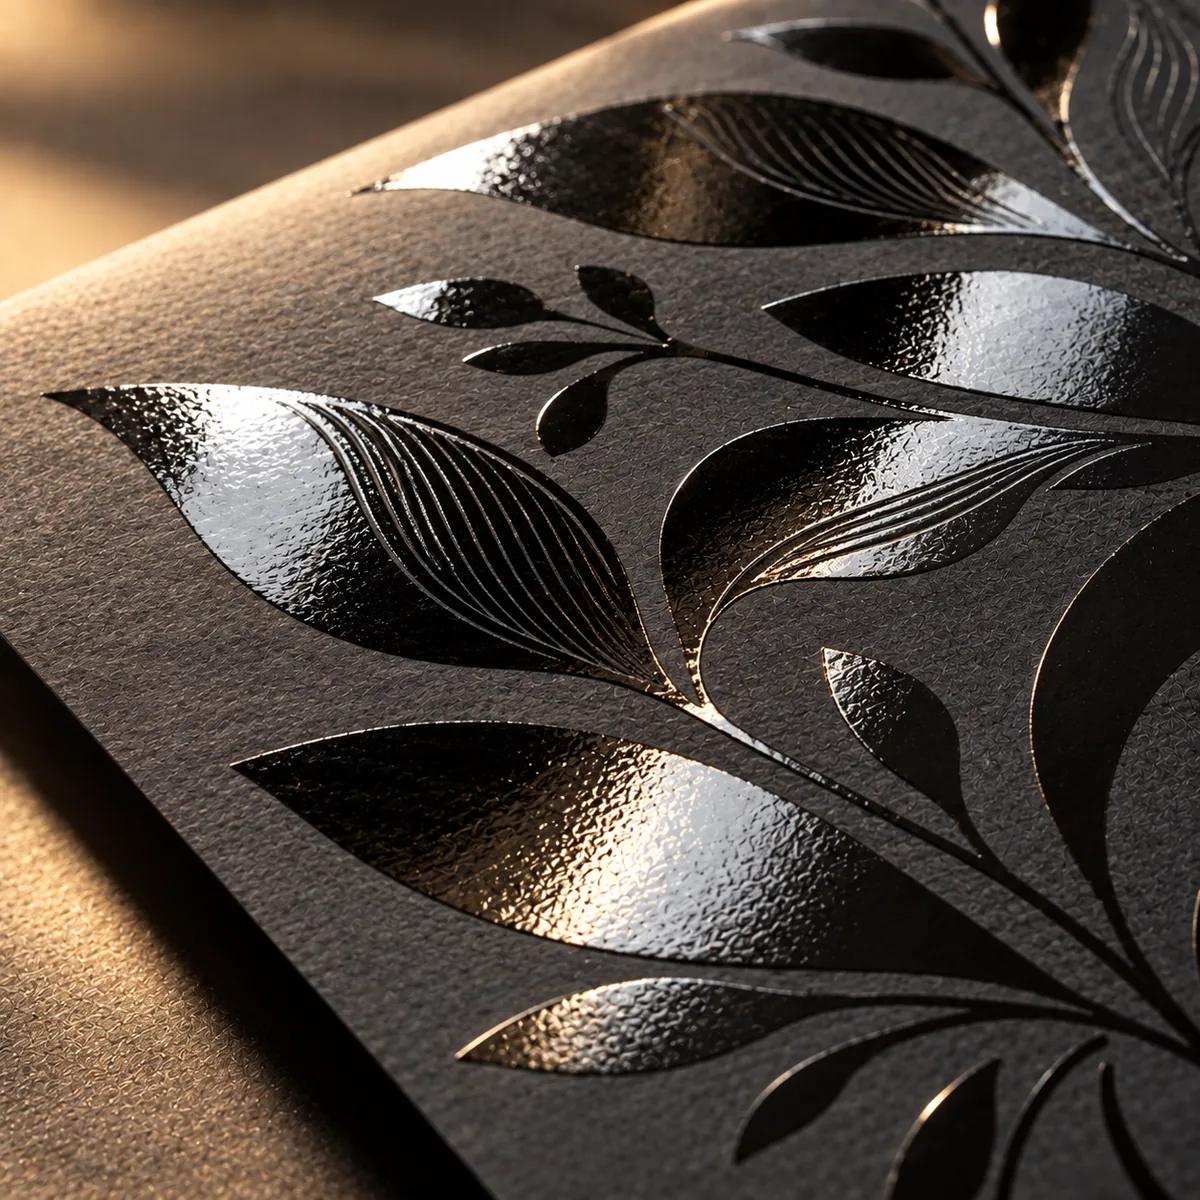
Spot UV
Gloss on selected areas over a matte field. Cheaper than foil and often used with it.
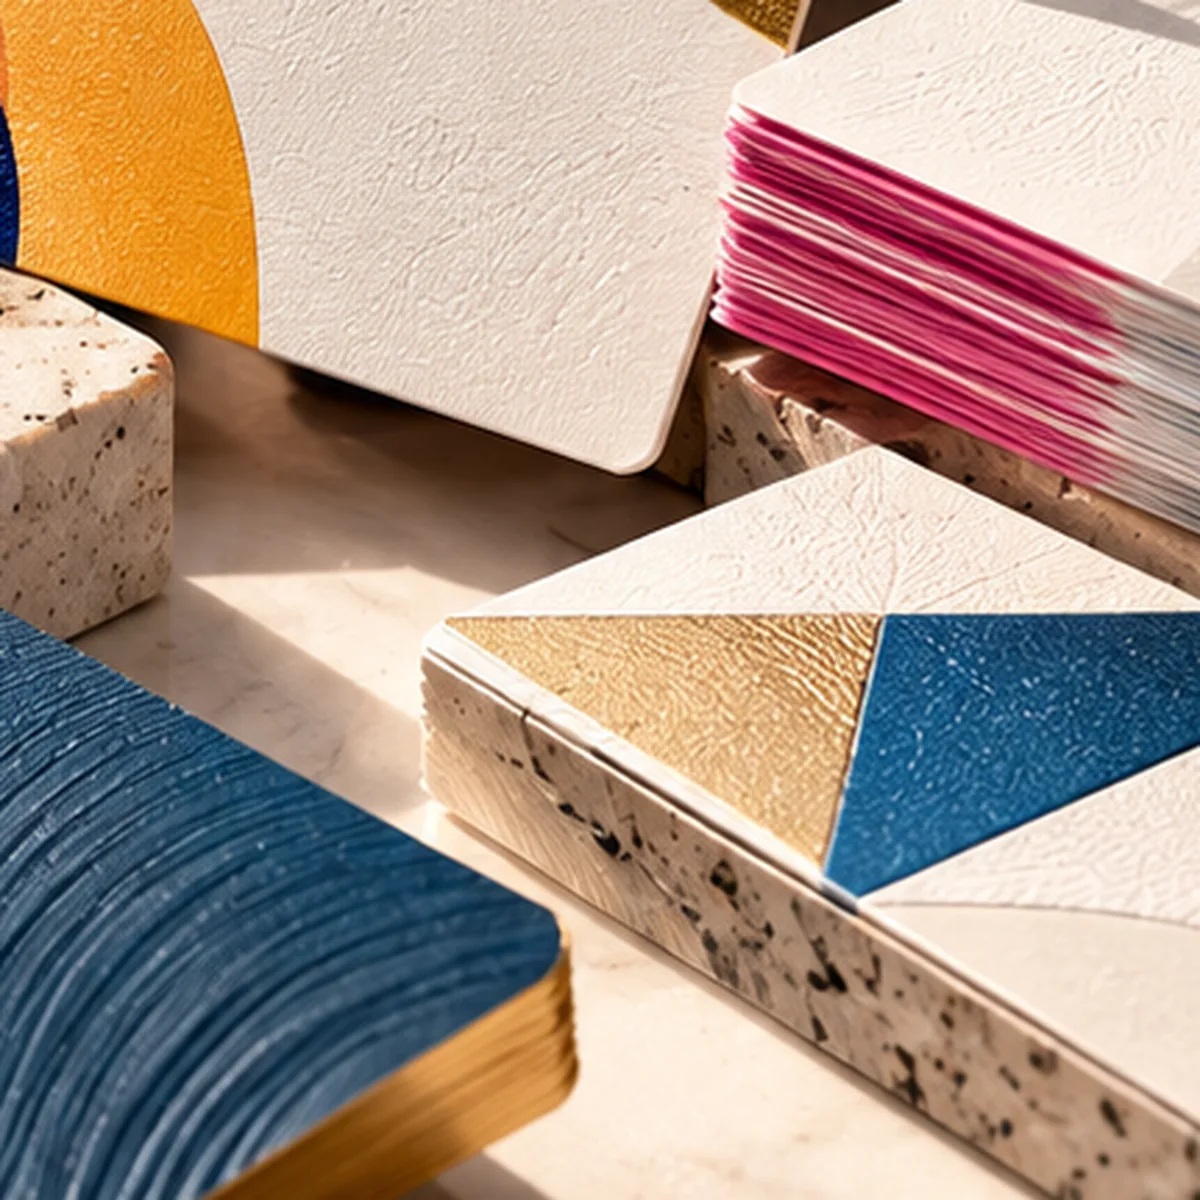
Rounded corners
Punched or die-cut radii. Small detail, but it is the one people notice in the hand.
Quality control
Caught before it ships
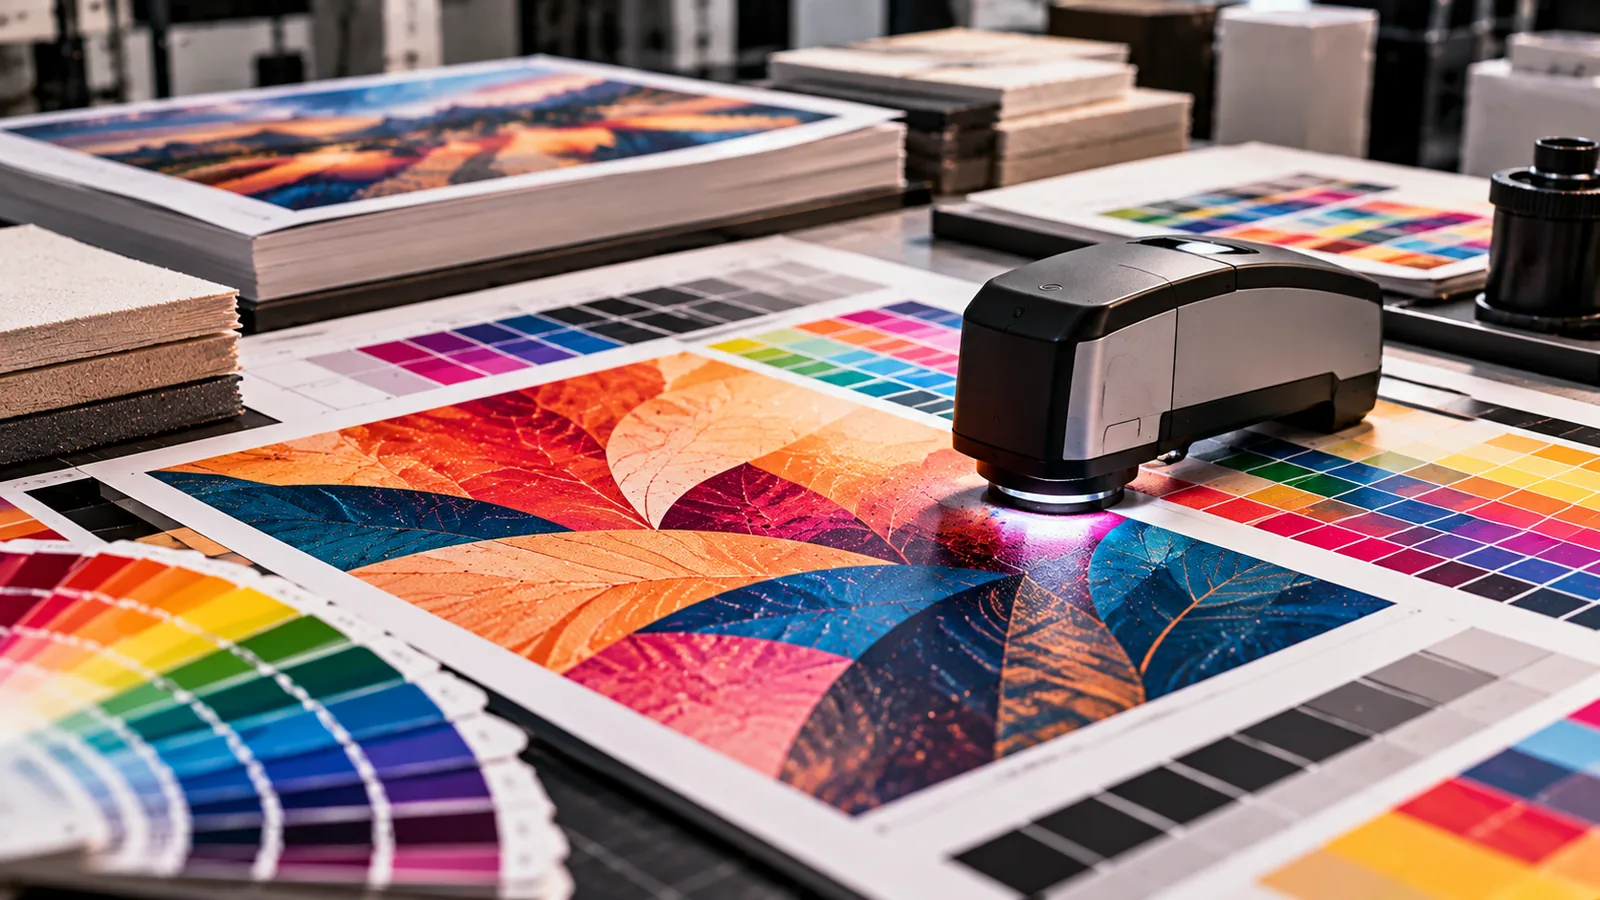
Colour proofing
Output is measured against a calibrated target before the full run. This is the check that prevents an entire batch being slightly wrong.
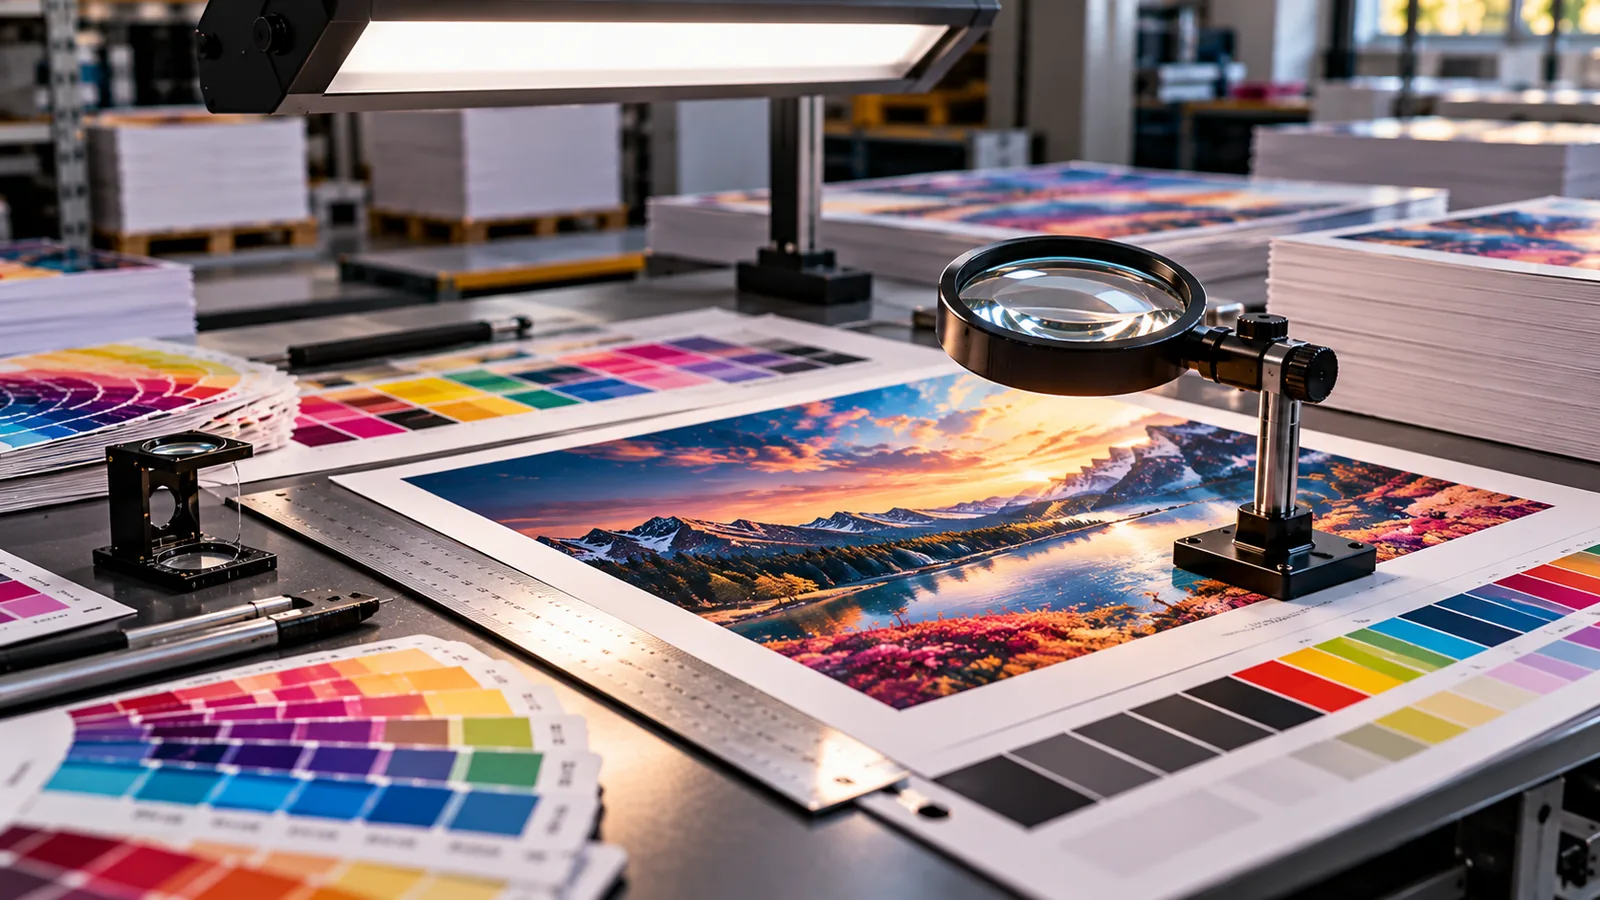
Inspection
Sheets are checked for registration, trim, bleed and defects. Spot-checked by eye, then compared against the approved proof.

Stock control
Paper is stored flat and rotated, and humidity is tracked. Warped stock shows up as a bad print even when the press run was perfect.
Bring your artwork, or start from a template
Upload a print-ready PDF, or design in the browser with automatic bleed, safe area and DPI checks built in. Either way the canvas shows the real trim line before the job is queued.